Disclaimer: The following about BDSM Branding is presented for entertainment purposes only. The author and publisher assume no responsibility for mishaps, misfortune or accident due to misuse of the information contained within. This article is not intended to be used as a “How To”.
I’d like to share my views and experience regarding branding. I’ve been involved in this form of BodyArt for the past three years and have performed over thirty brands totaling over two hundred strikes. Training as a piercer gave me a solid grasp of sterile technique and thousands of piercings taught me how to calm apprehensive clients. A little more research into burn first aid firmed up my aftercare approach. Anybody seriously considering piercing, tattooing, cutting or branding another humans flesh, in the name of art, should be prepared to study and practice. I’d like to thank Raelyn Gallina, Lance Rubin, Fakir and Eric Dakota for opening many doors for all of us. These, and others, are the people presenting branding as an alternative.
Read on…
The brander’s job is to conceptualize the healed brand by taking into account numerous factors.
First, how large and what type of design? Keeping in mind the general principle that tissue burned to the third degree will expand (spread) from three to five hundred percent will help determine the appropriate spacing of the design components.
In my opinion, Runes, Letters, Numbers and other Symbols that share simple, wide open designs often produce the most readable brands. Multiple strike designs need to be carefully planned out on paper before shaping the iron. By keeping the shapes from one to three inches long, the iron will retain heat long enough to make a clean, even strike. Second, where on the body will the brand be placed? A flat area, preferably away from any bones and not above any vital organs is best. Yes, I have done work on these areas, but not without proceeding slowly and cautiously.
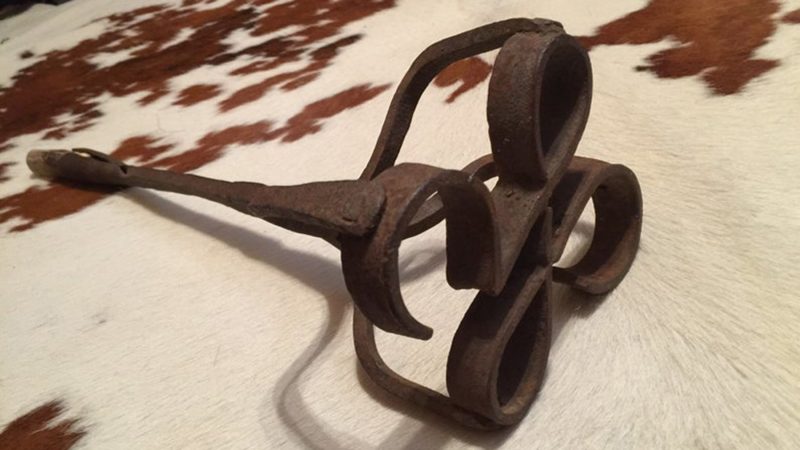
Using a pair of padded pliers, the iron is bent into the desired shape. I’ve found eighteen gauge, galvanized sheet metal , cut with tin snips, works best. Differing gauges can be combined in different components to create complex, multi strike designs. Placing the unheated, formed brand over the intended location and checking for any spots where the iron does not make contact, will help determine the optimal placement point. Adjust placement so the iron will make full contact. Sometimes repositioning the body will redistribute fat and muscle, flattening a previously unsuitable location.
A piece of scrap metal the same size as the iron can be used to test the metal’s melting point. Using a pair of large, insulated pliers, hold the mock iron in the flame of a propane torch and watch closely for any distortion in the metal. Some grades of metal will turn red hot for a moment and then fade. Some will not change at all. If the metal distorts it may have been heated unevenly or been to thin or too small. Experiment on scrap metal until the perfect mix is discovered. A hand held, propane torch and an assistant to hold the torch are key ingredients in a successful brand.
Third, the duration of the heated strike. The amount of time the iron remains on the tissue . Quickly removing the iron should result in a light scar. Leaving the iron in place (with out adding pressure) usually makes a heavier scar. Never push hard. Practicing on soft cardboard and room temperature chicken breast is a must. Vegetarian branders practice on Tofu. Really.
Lastly, the aftercare a brand receives greatly affects the finished result. Different things work for different skin types. I’ve enclosed my ideas on after care. I’ve seen dark people barely get a raised keloid, pink design, and I’ve seen fair skinned people create flat, dark designs. And vice-versa.
The location and surrounding area are cleaned using alcohol gel or Betadine. The skin is scrubbed thoroughly in one direction. The cleaning should be done at least twice. The iron itself should be sterilized in one of the accepted manners. A hospital level germicide or autoclave is sufficient. Since the brand itself is a third degree burn, cauterization takes place.
The danger of infection comes as the scab develops . If the scabs crack they become a portal for bacteria.
I prefer to wear gloves, and use my skills at preventing cross- contamination. I’ve seen branders not wear gloves. I was taught the simple truth “Germs crawl” . So going over board is not a bad thing, as some people have suggested. Better safe than sorry and all that. Any place you can study sterility helps. Commercial courses are available in some cities and towns.
A pair of disinfected Vise Grips are adjusted to securely hold the iron. The iron is heated to the proper temperature and the strike is delivered. Simple, huh?
Well, yes and no. It takes weeks of study to acquire a beginning understanding of sterile technique. A steady hand and critical eye comes from experience.
A good place to read about branding is in Body Play and Modern Primitives Quarterly #3. See Fakir’s article, “The ABC’s of Branding”. Most first aid books will give you some information you can readily use.
The public’s reaction to this art form is usually one of disbelief and aversion. By planing the desired design carefully, we may change peoples minds that we are loose cannons intent on mutilation and masochism. Chose your symbols wisely and let them empower you forevermore.
Suggested Aftercare for Brandings:
• Directly after the branding takes place, a moderate amount of anti-bacterial ointment should be applied. Use a fresh glove.
• Cover the brand with a sterile dressing and secure with surgical tape.
• Keep brand moist . After three days of using ointment, switch to a quality hand lotion . Test a small section of your body for adverse reactions to the lotion.
• After forty-eight hours it is no longer necessary to keep the brand covered. But you can if you like.
• A multi-vitamin should be taken following the manufacturers directions.
• Most brands take from three to twelve weeks to heal.
Learn more with video tutorials and articles at Wasteland.com – Click Here